Matt's Kitchen Project
We moved into our “new to us” house in May of 2004. We loved the location and land, but the house itself was a little too rustic for our tastes.
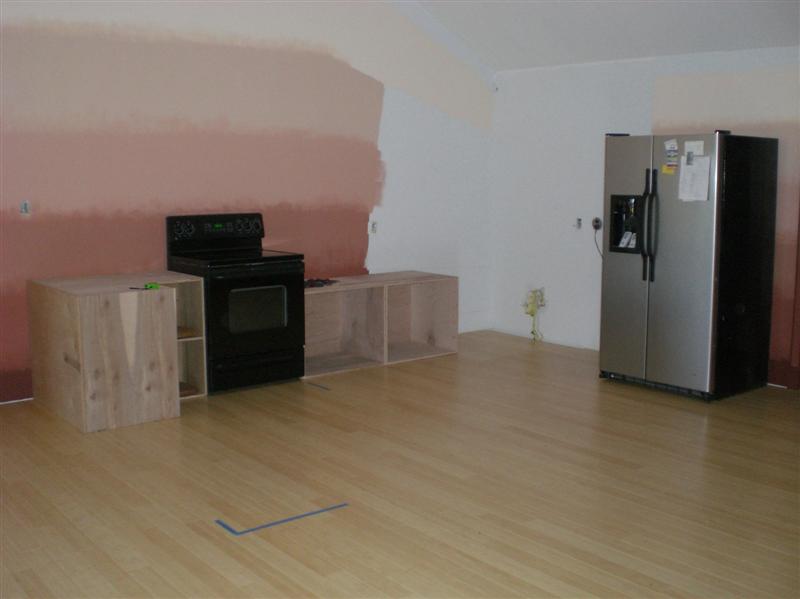
After a little work, we cleaned things up a little.
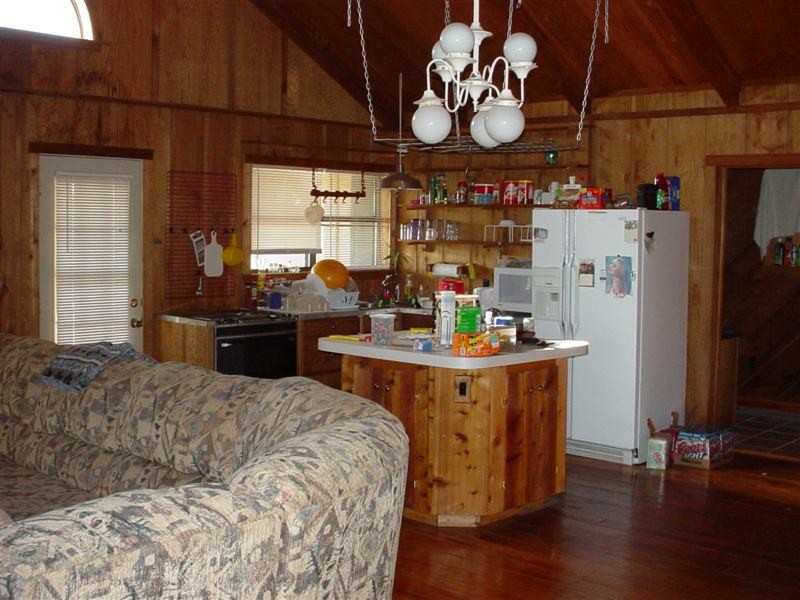
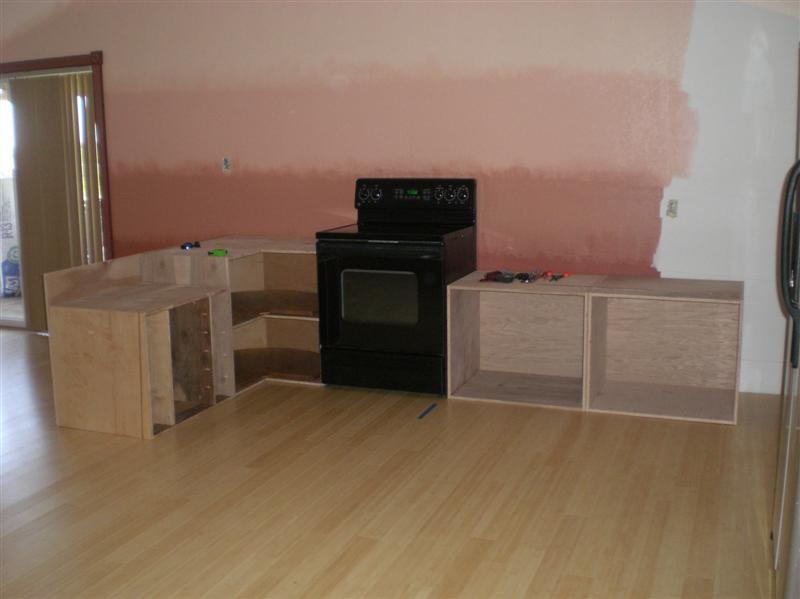
As you can see, the kitchen is crammed into the corner between two doors. Also, there are no upper cabinets. The windows above don't help either.
In November of 2009, I rebuilt the interior of the living room and redesigned the corner where the kitchen would go.
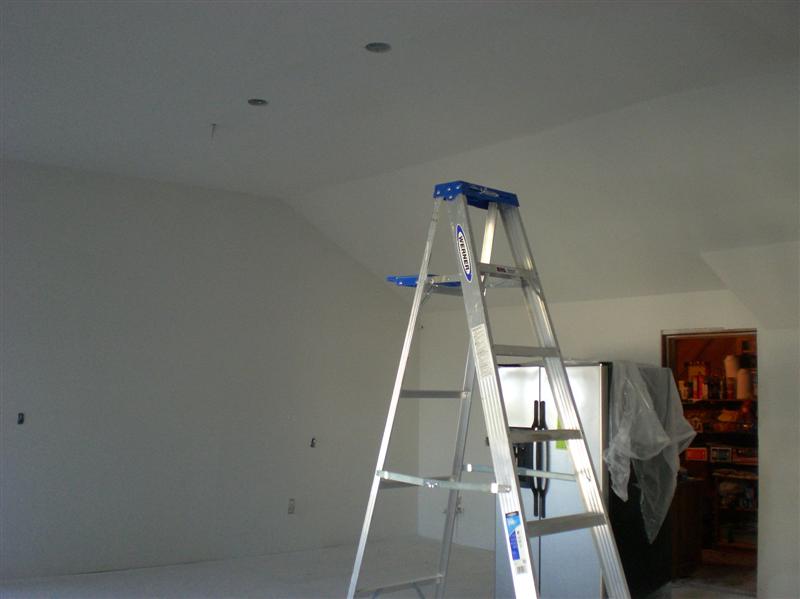
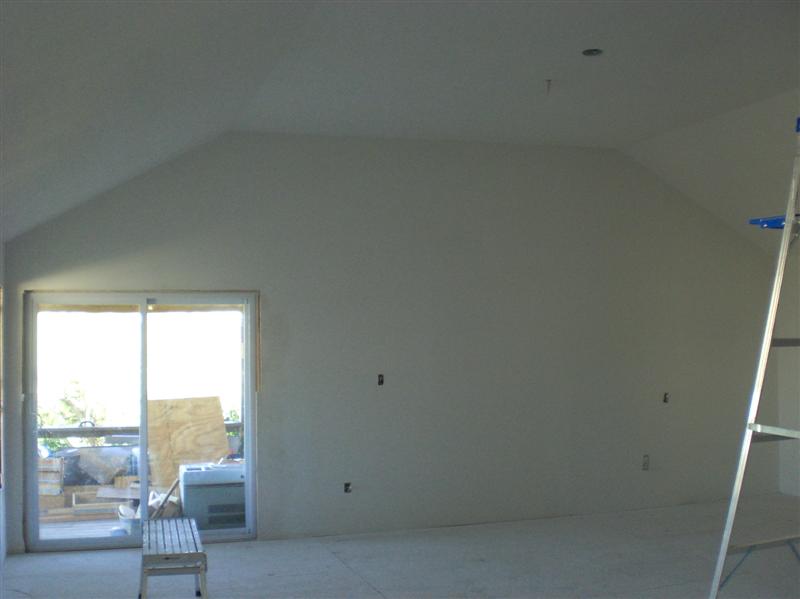
By removing the
door and windows, I freed up space for a larger kitchen. By March of
2010, I started considering what my design would look like.
Since
this was going to be a completely custom build, I wanted a design
that I had never seen before, was still practical, but still had a
somewhat antique look.
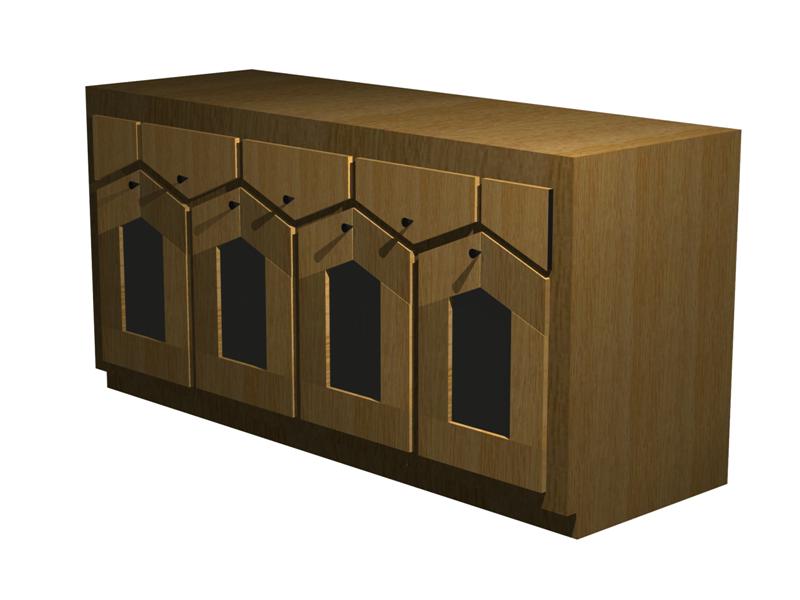
Using 3D software, I designed a concept to
base the entire design on. Offset doors and drawers in a zig-zag
pattern would have the advantage that all the
nobs would be near
the same height and enable bilateral symmetry for most faces. All the
base cabinets would be “pantry” type slide out drawers
instead of
typical swinging doors. This would eliminate
interference issues and make access easier and more aesthetic.
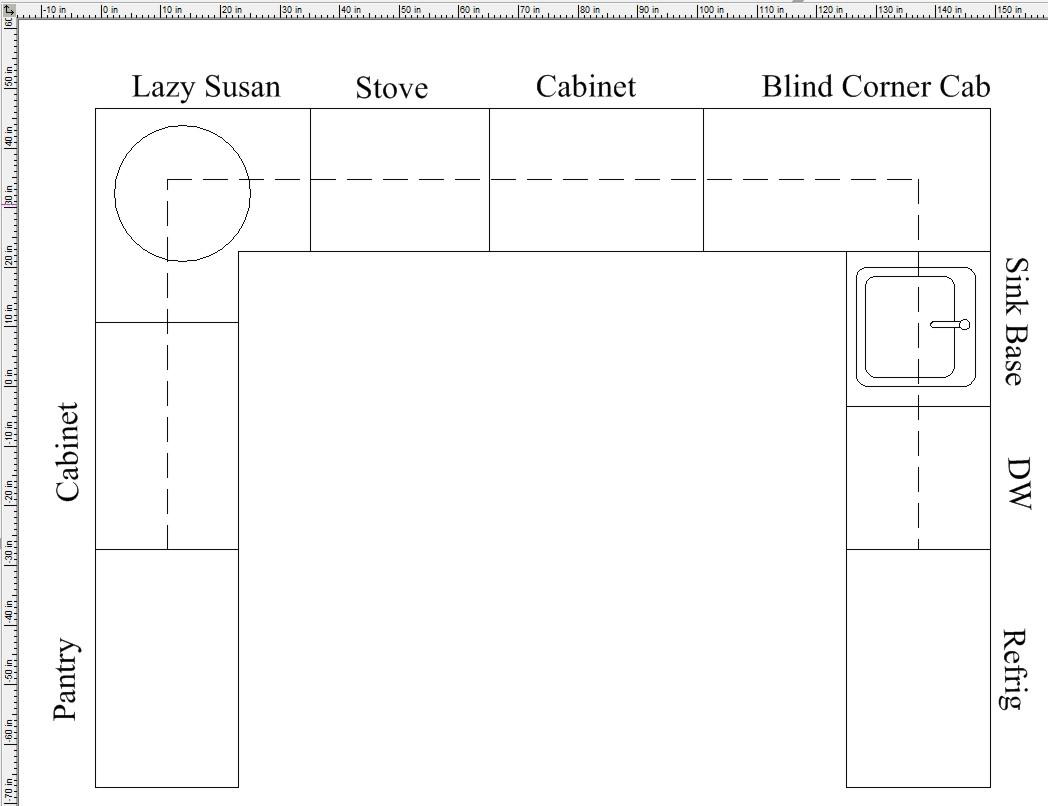
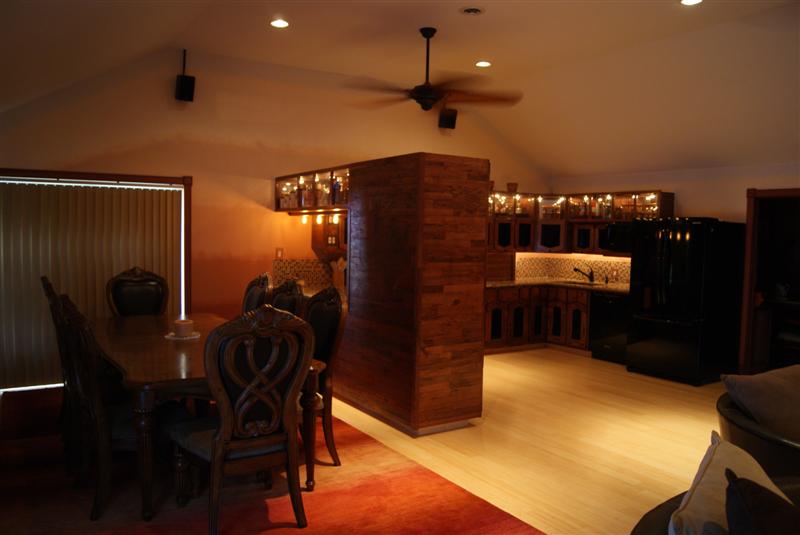
The new design would also have a wing that would double as a serving area for the dining portion of the room.
![]()
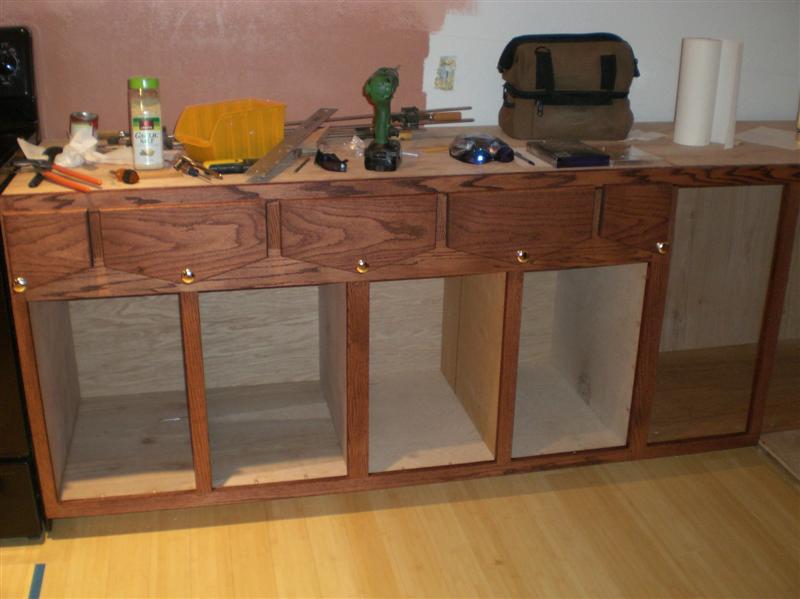
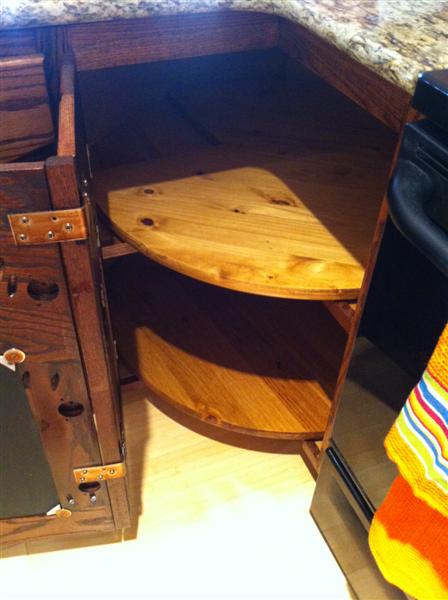
April 2010 - getting started on some of the base boxes and the lazy susan.
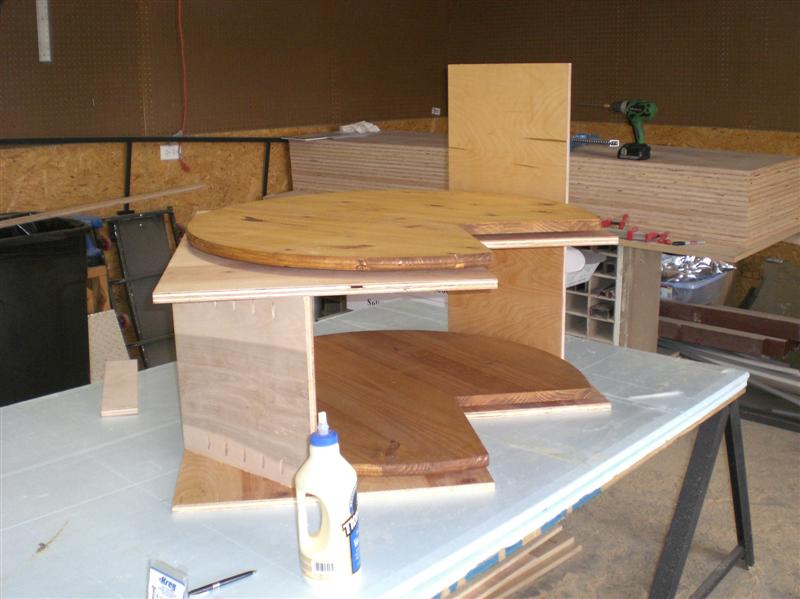
This
lazy susan uses 36” discs as opposed to typical 32” (and
smaller) discs.
I'll
be storing the parts in the approximate locations where they will be
installed.
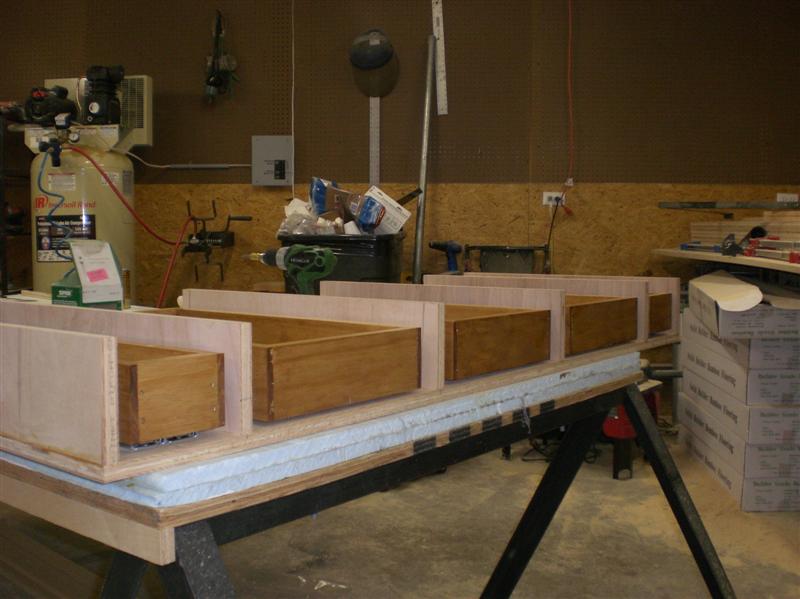
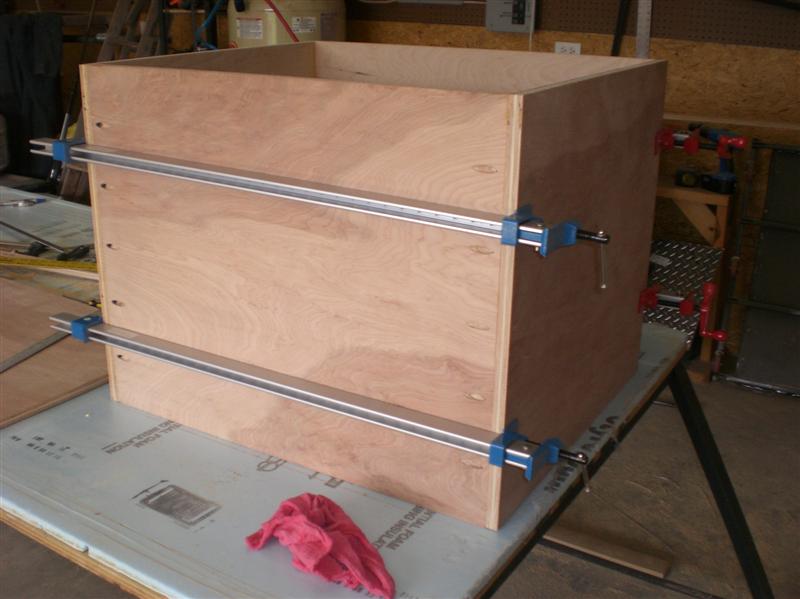
Getting
a drawer section built. I'm doing these separate since they will be
offset and I want to retain maximum strength to support granite tops.
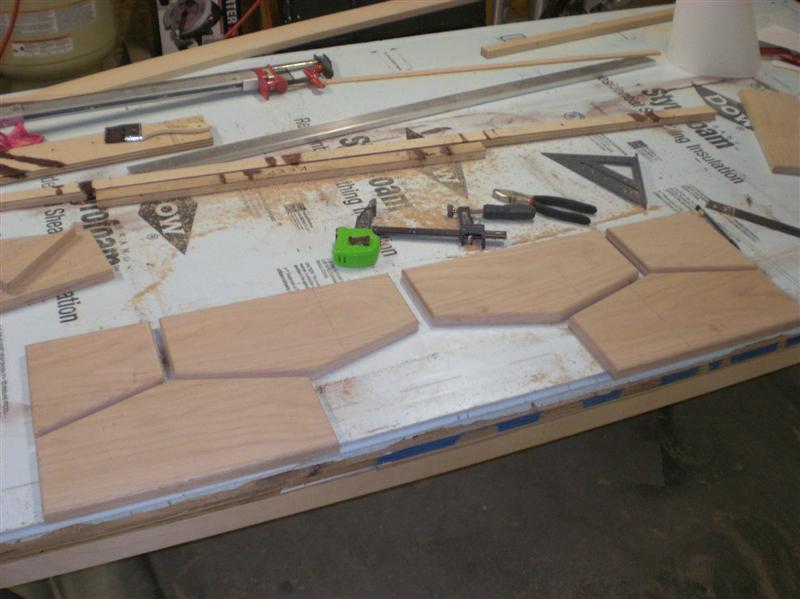
The
first of the drawer faces.
![]()
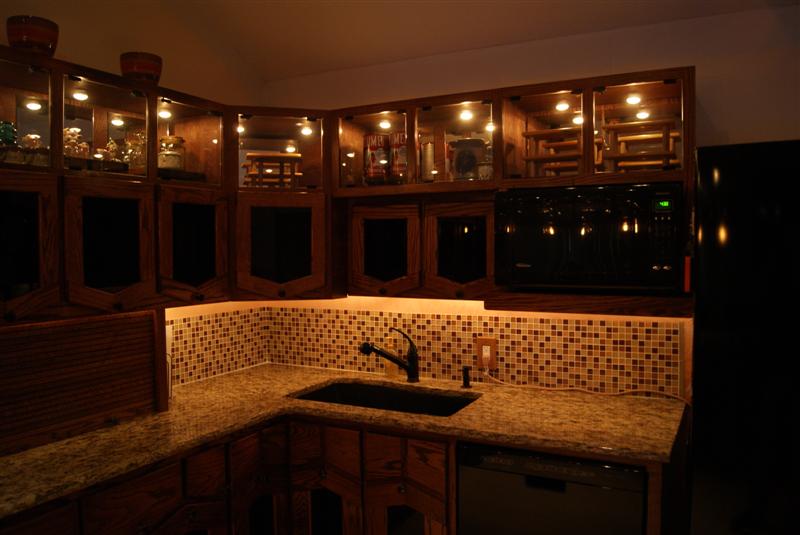
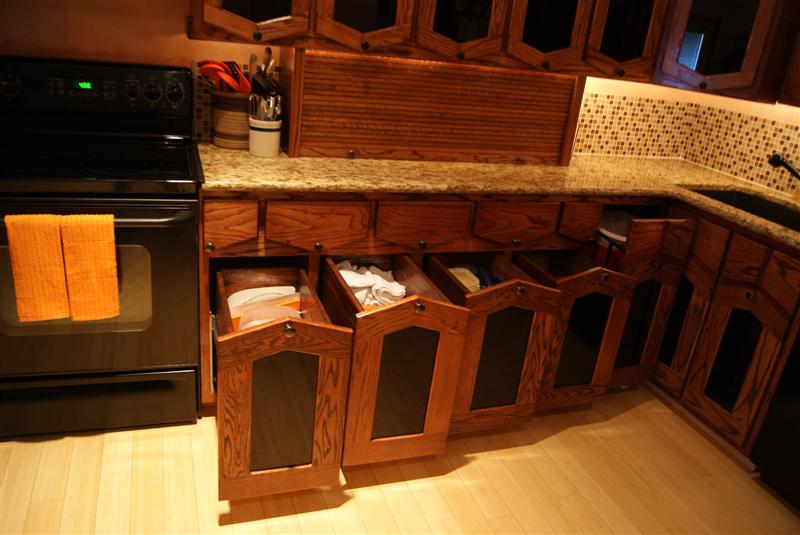
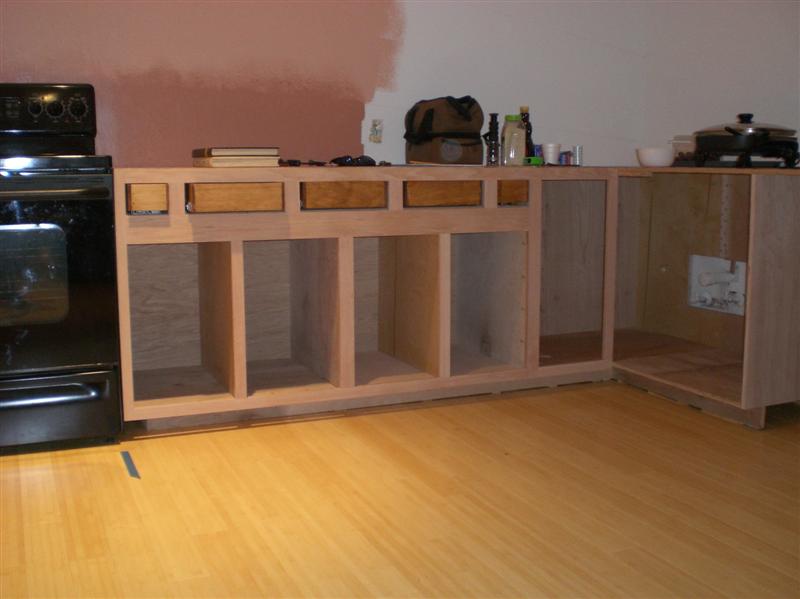
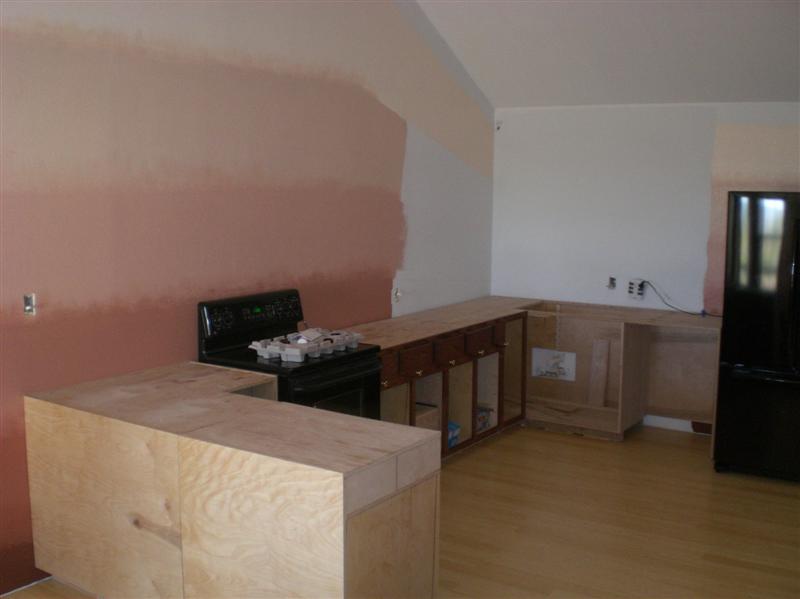
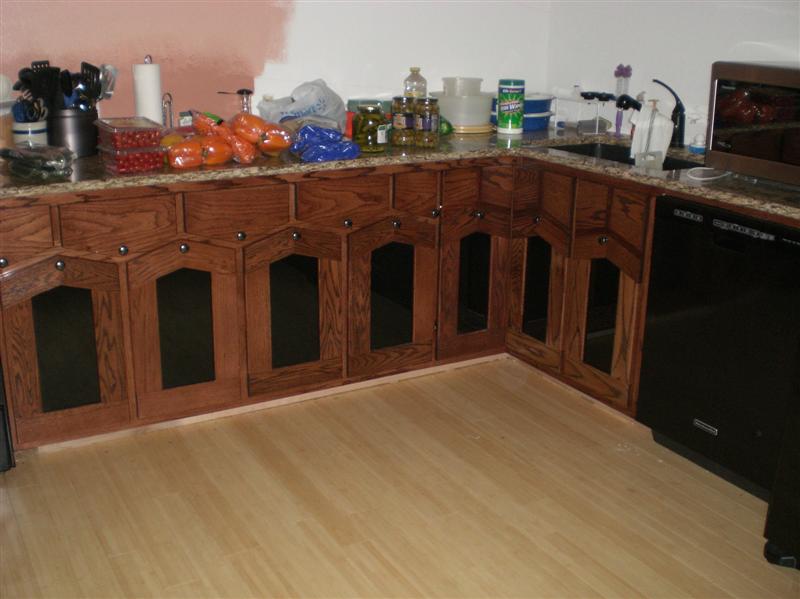
October 2010 – had granite tops installed along with the sink
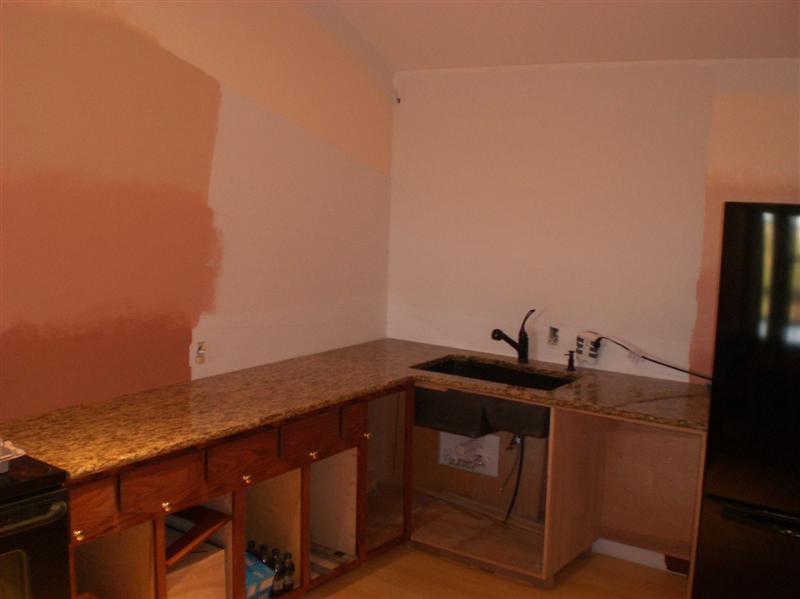
Now time to get started on the sliding lower sections
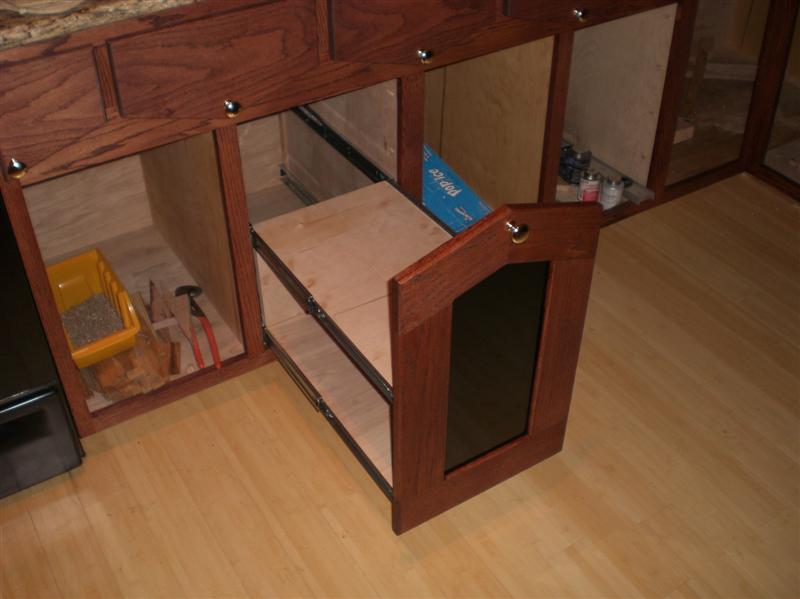
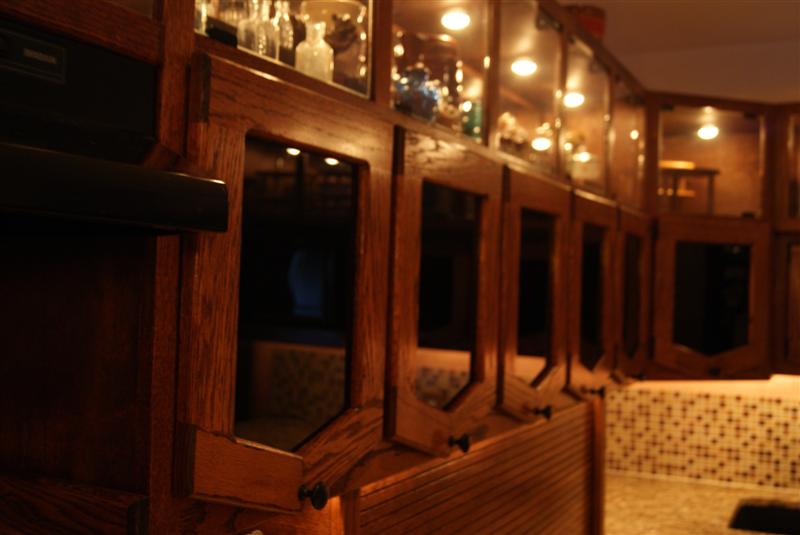
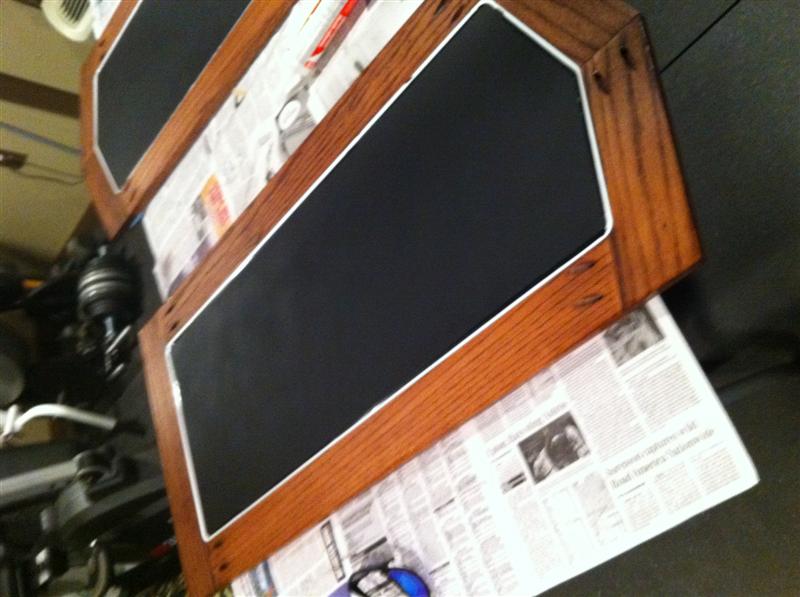
Many
of the doors have glass that has been blacked out on the back side.
The glossy black will match the new appliances.
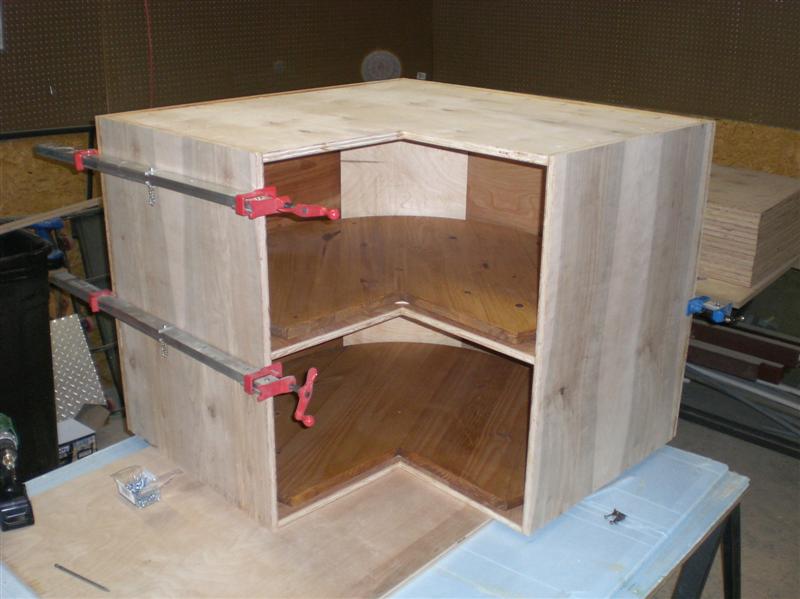
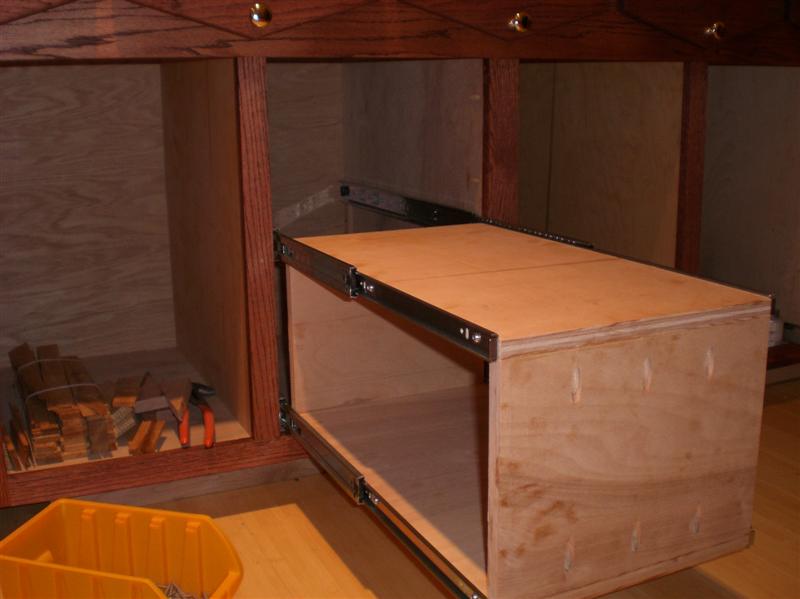
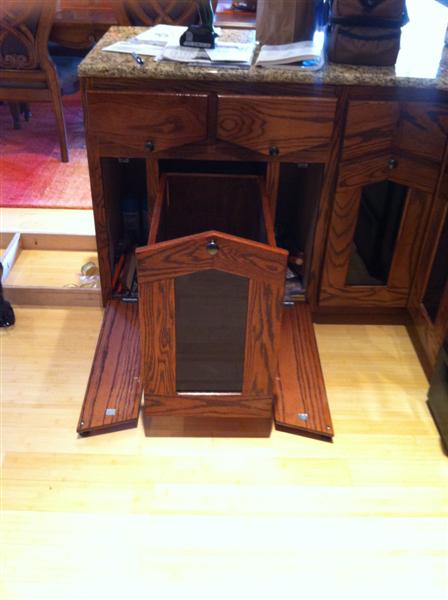
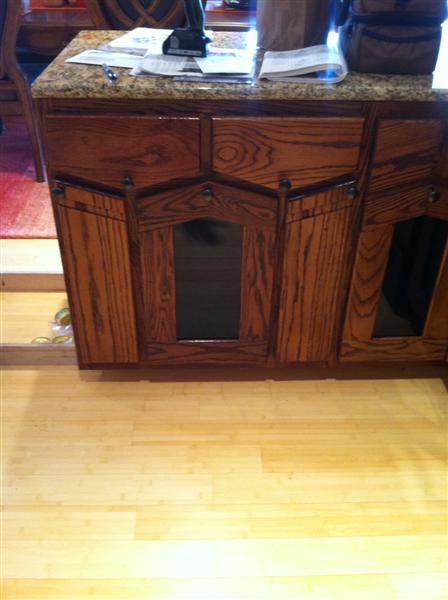
Three of the
lower's will have a unique double drawer design – again for
easier access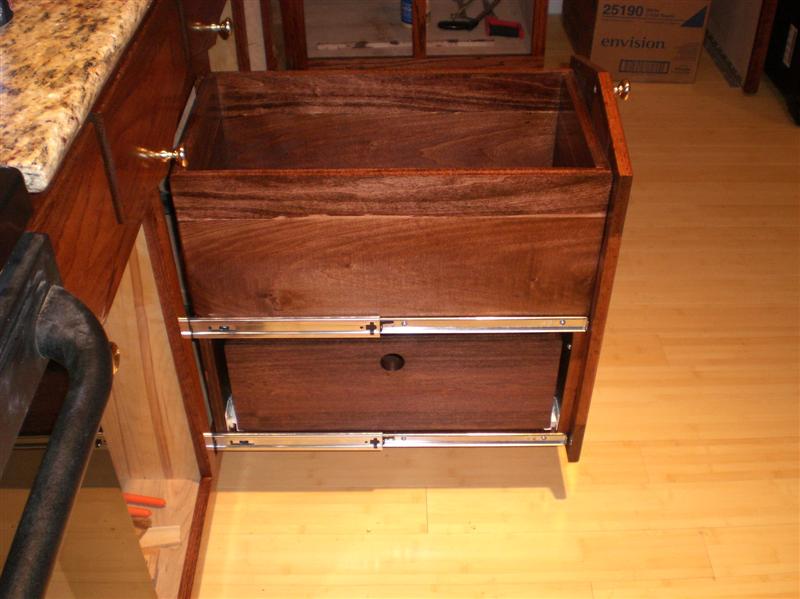
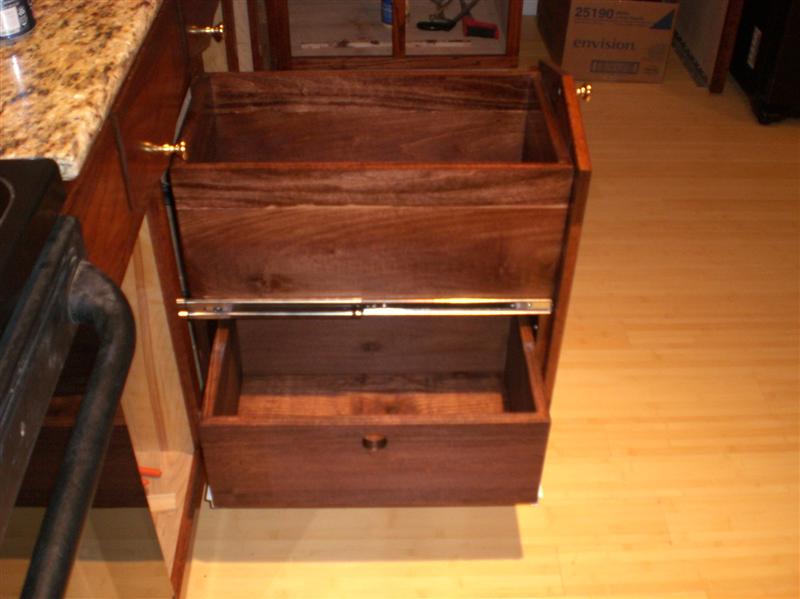
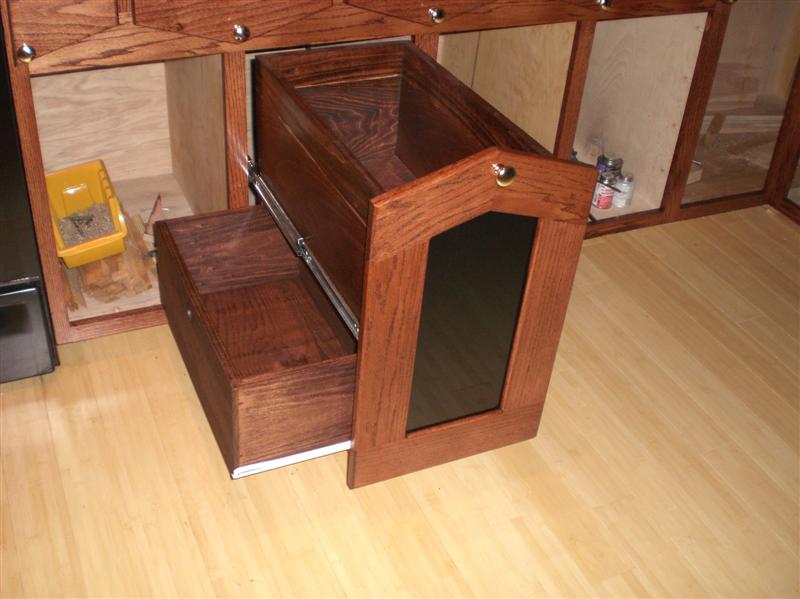
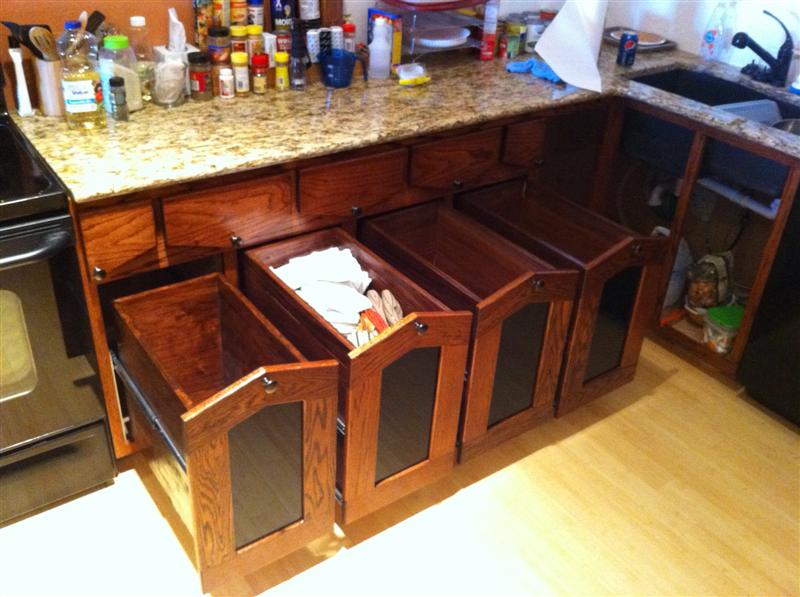
The
cabinet closest to the stove is simply a deep drawer with no side
drawer.
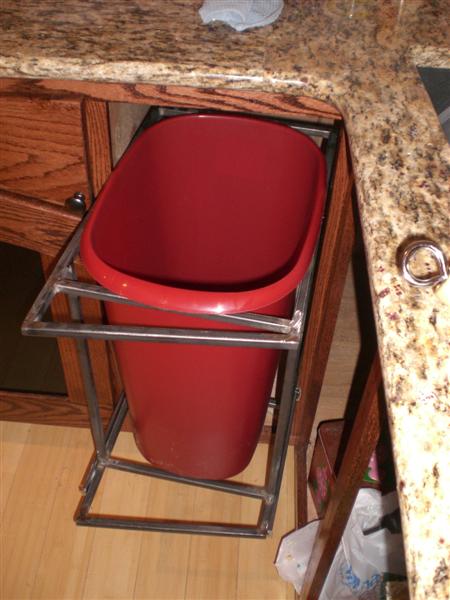
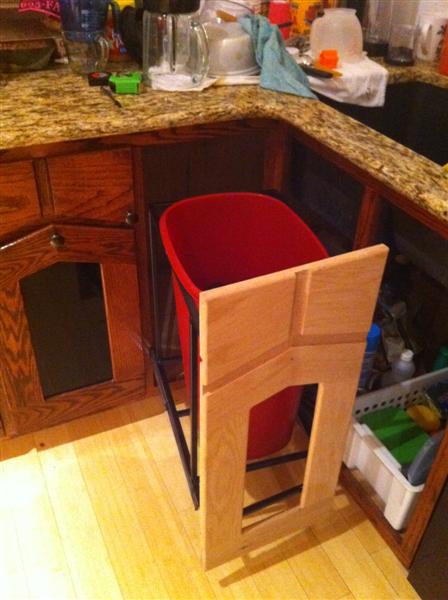
The corner waste basket was a bit of challenge. It “crabs” out slightly as it opens to clear the face of the sink door (yet to be installed)
![]()
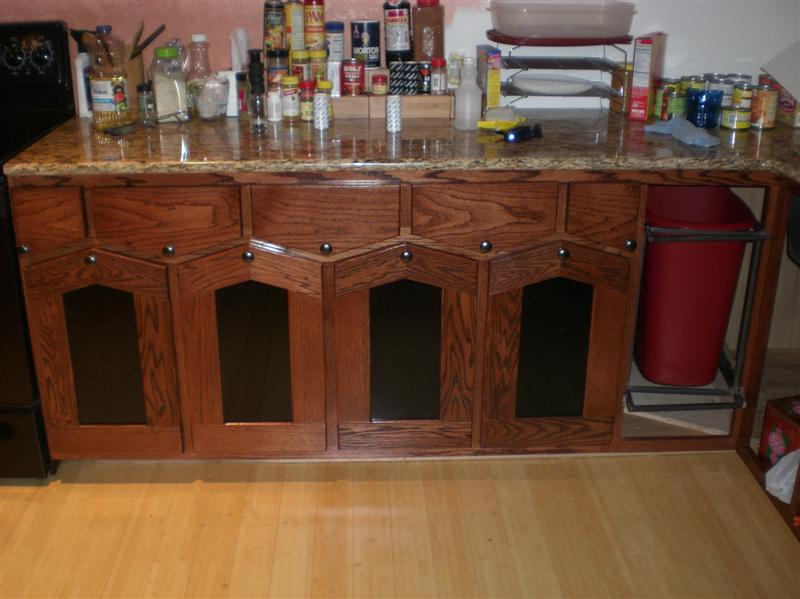
May 2011 – Finished up the lazy susan and adjacent cabinets

![]()
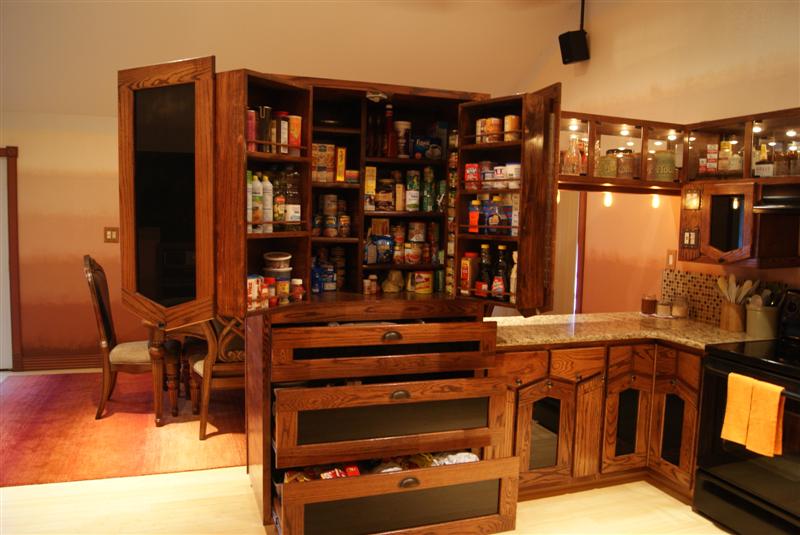
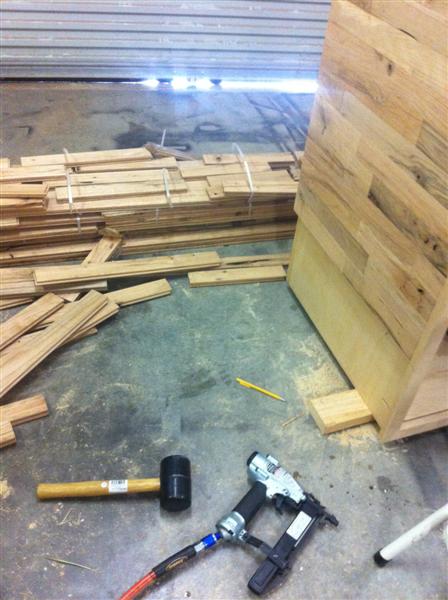
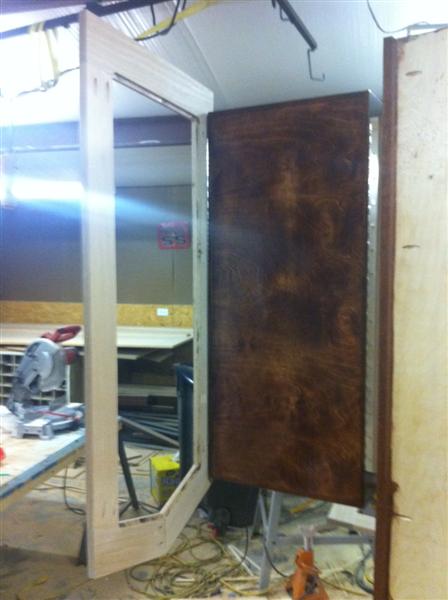
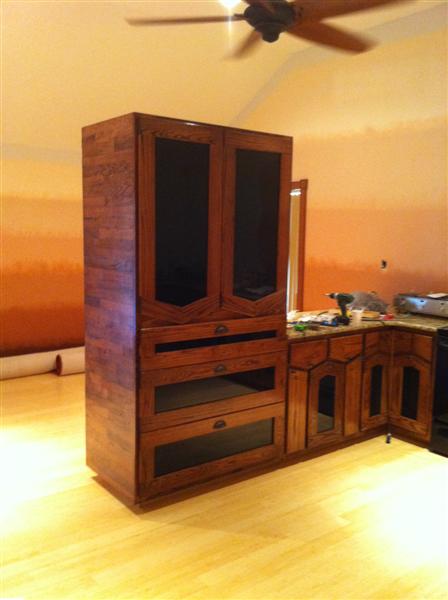
June 2011 – building the full size Pantry cabinet
I did a lot of
research on pantry cabinets. My wife gave me some general
specifications she'd like:
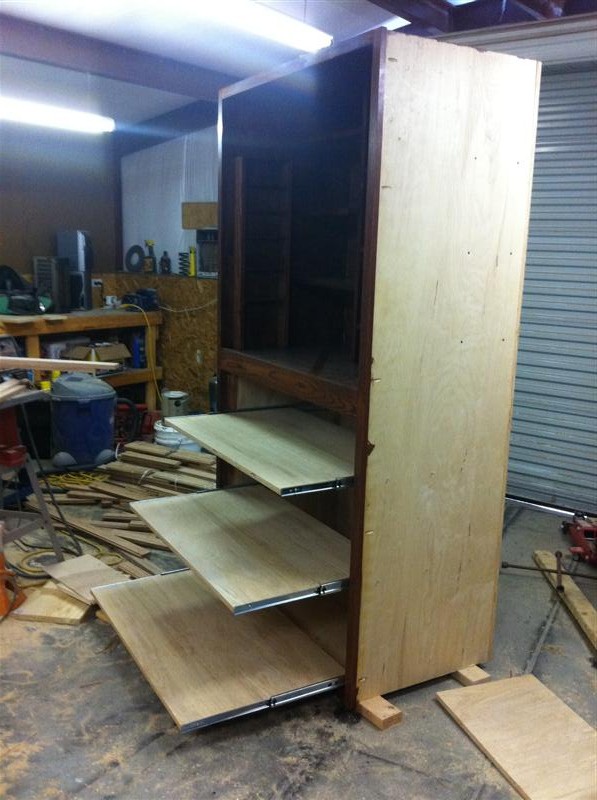
about 42” wide, full height,
doors that would swing out with storage in them, and slide out
sections with easy lower access.
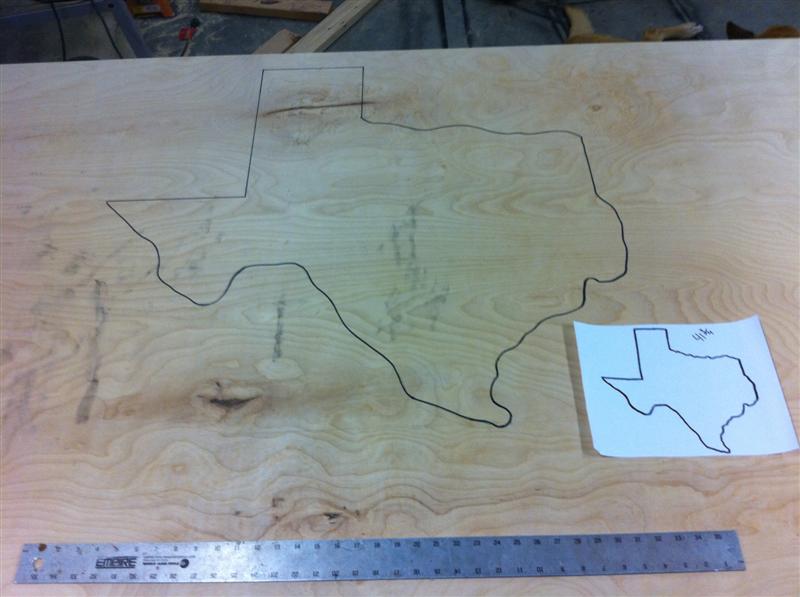
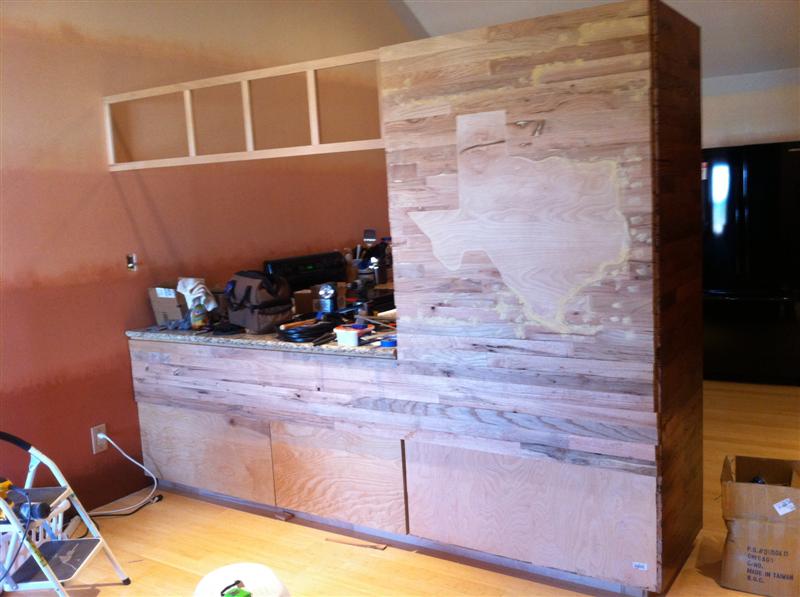
One main thing that >I<
wanted, was to face the exterior with oak and perhaps more, as a
tribute to the rustic nature of the original kitchen.
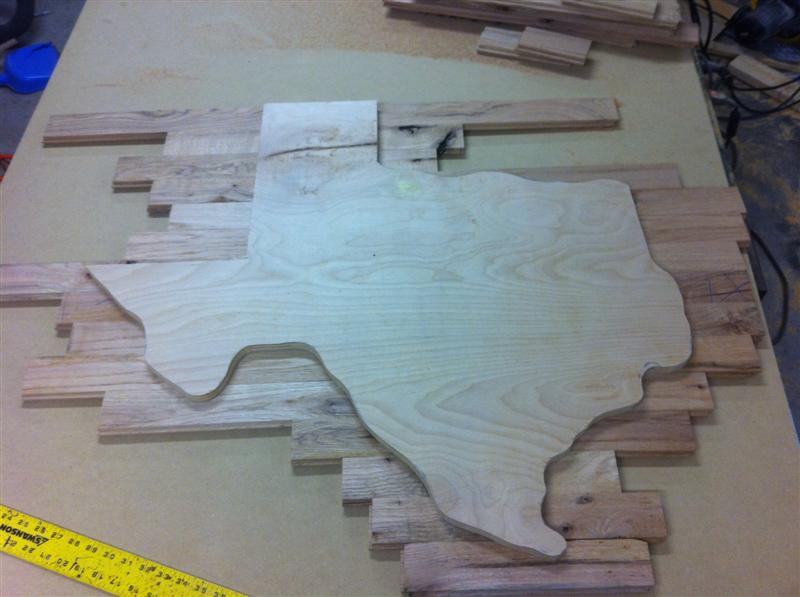
Around this
time I placed a small amount of oak flooring remnants on order...
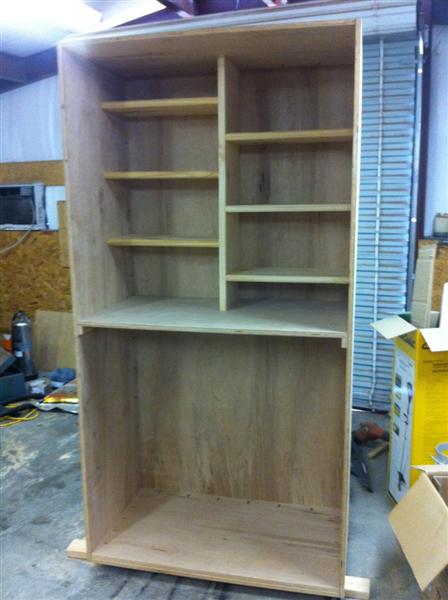
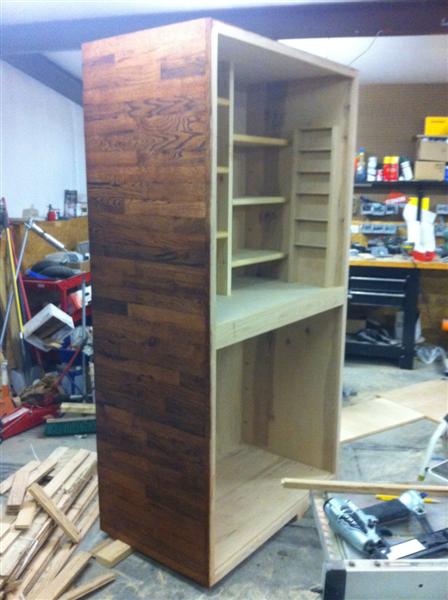
The initial build went quickly, but this thing was much larger than I imagined it would be, but I pressed on.
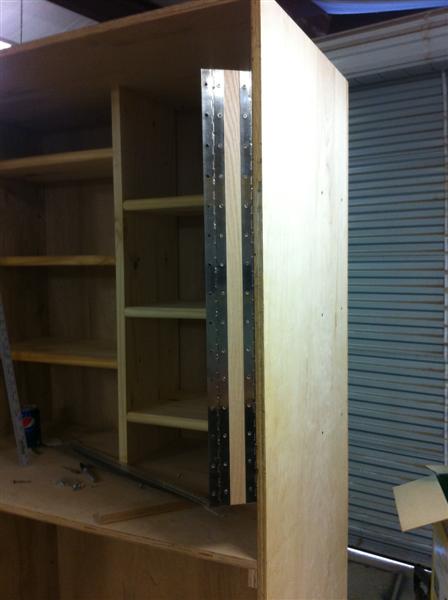
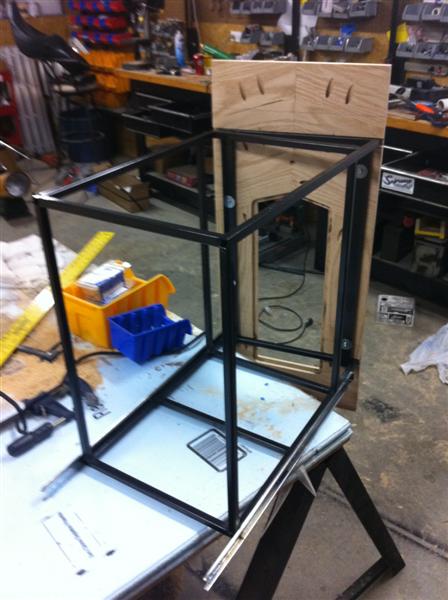
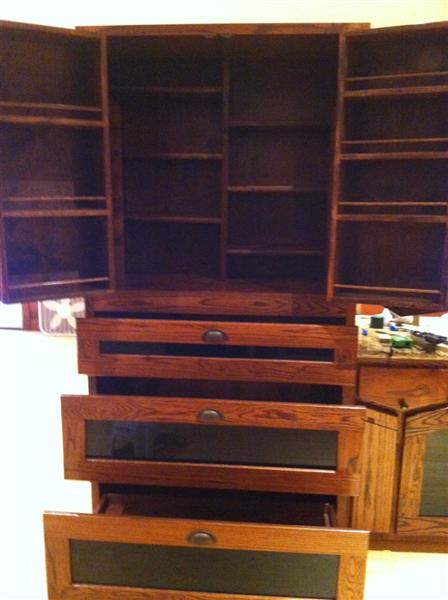
I
came up with a double hinge design that would allow deep storage type
doors that would function with a matching face frame.
These
are the storage doors.
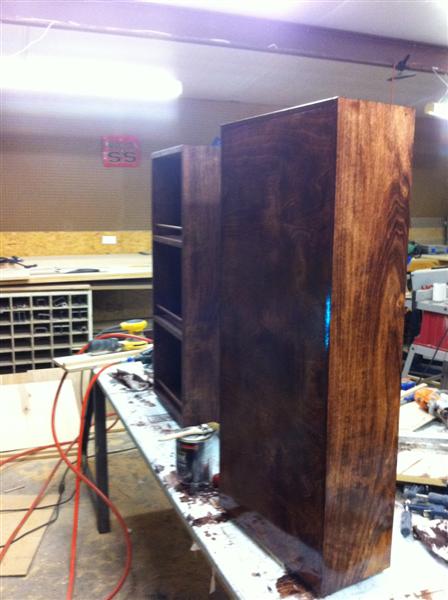
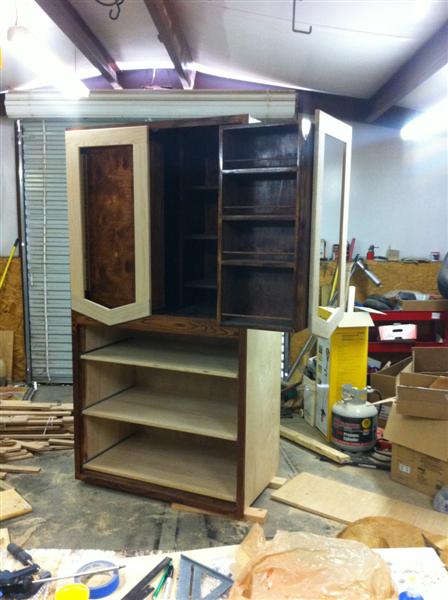
From
here, now that the oak showed up, I started getting the cabinet
encased.
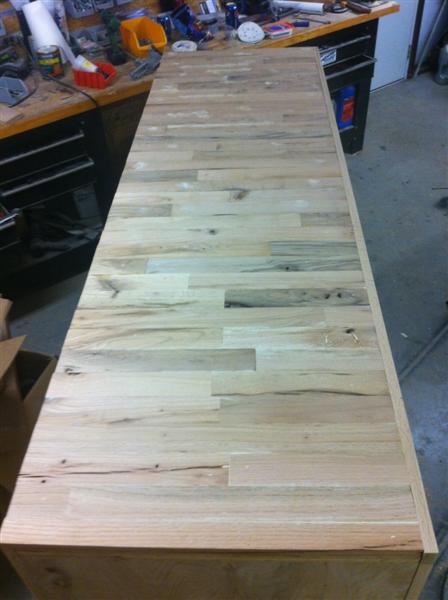
Note:
the base has two wafered pieces of 3/4” birch plywood –
needed to allow this cabinet to be free standing.
With the
flooring – the walls will also end up being as thick: 1 1/2”
total. It will also end up quiet heavy. At least 400 lbs assembled
I'd guess.
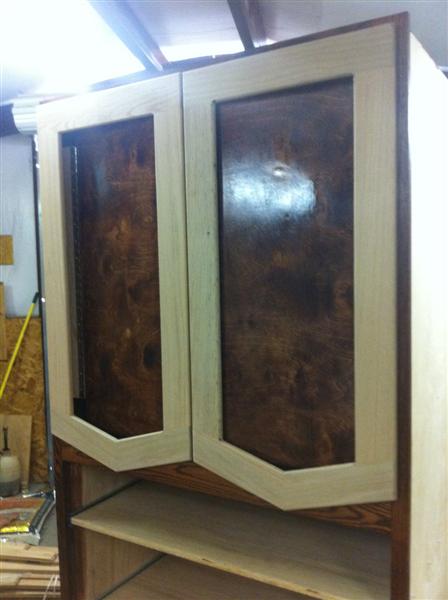
The
design now uses 3 hinges on each side. This allows everything to fold
up and align nicely.
It also gives much better access than most
other designs that fold out from the center.
Setting
the glass into the doors...
...and now installed into the kitchen
![]()
July 2011 – more work on the oak facing – the back side
(note
the face for the next stage: the display cabinets)

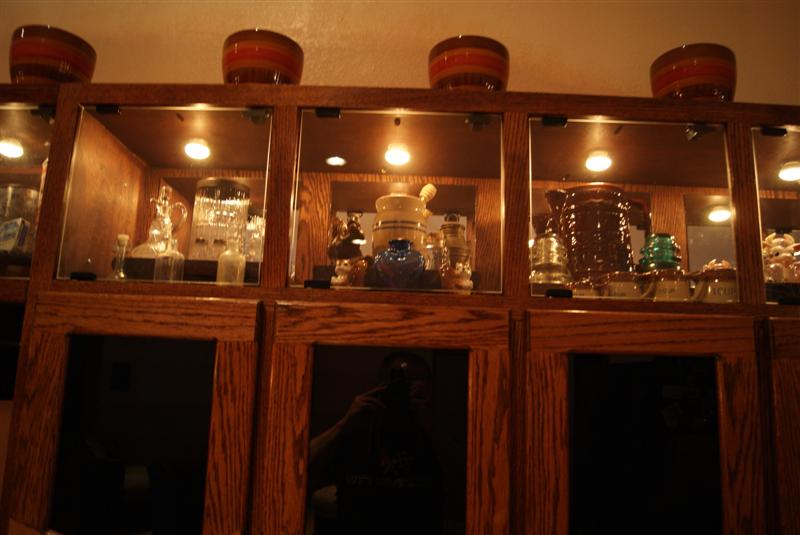
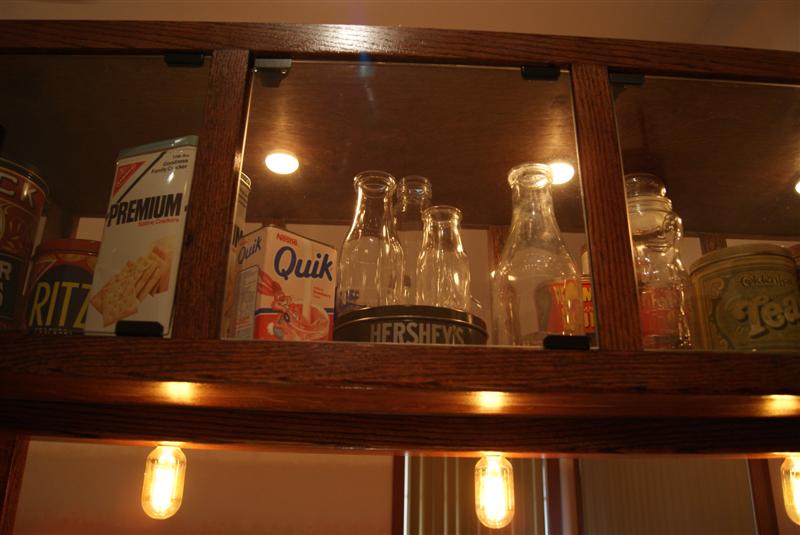
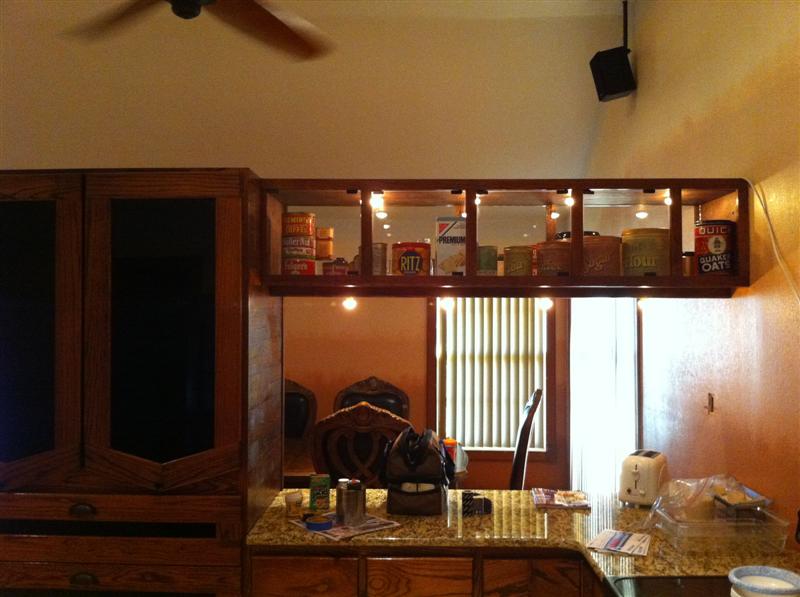
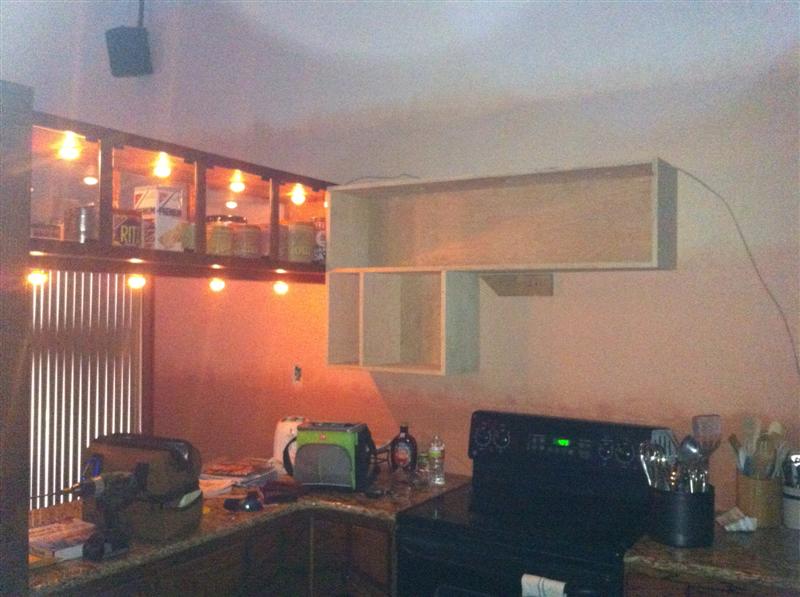
Here
with a display cabinet installed and lit up...
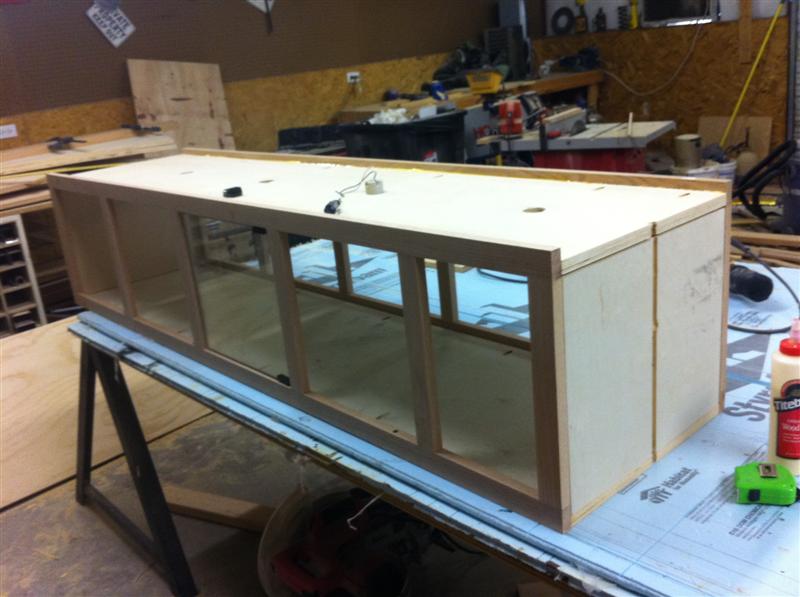
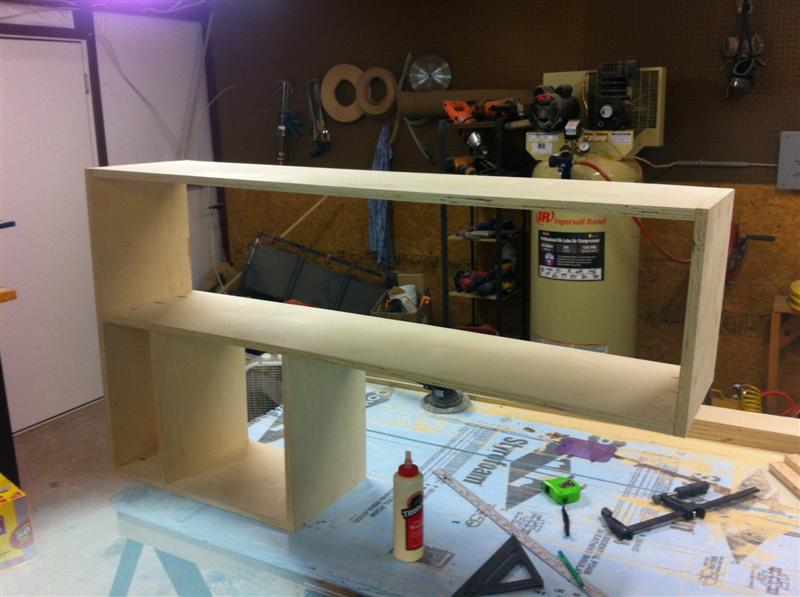
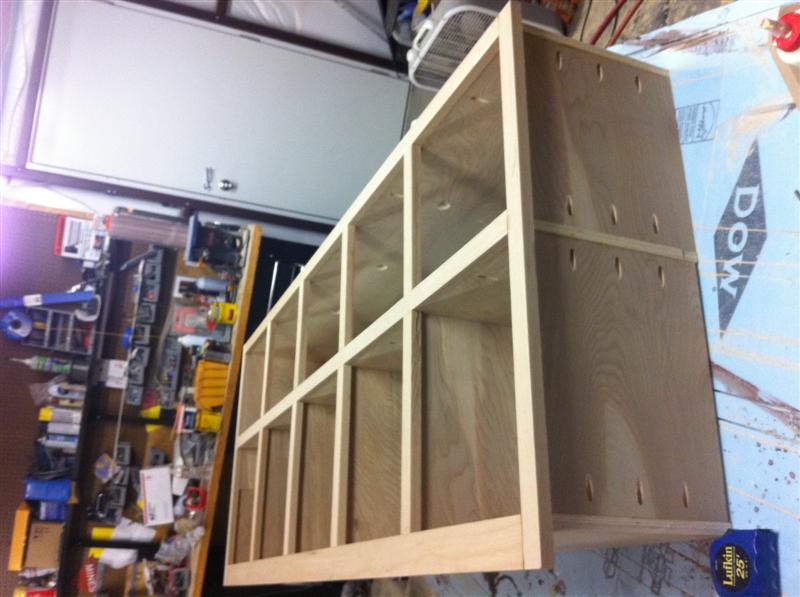
...here's the construction of the first display cabinet. These will sit above the upper cabinets for nick nacks...
![]()
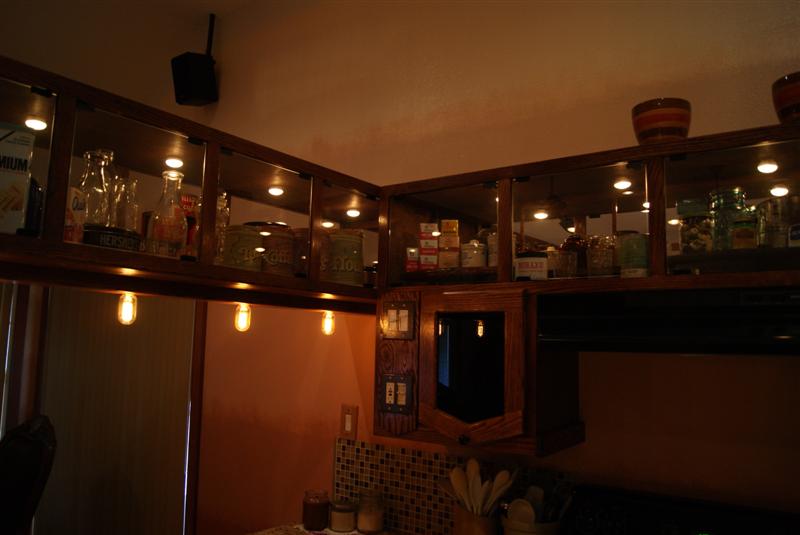
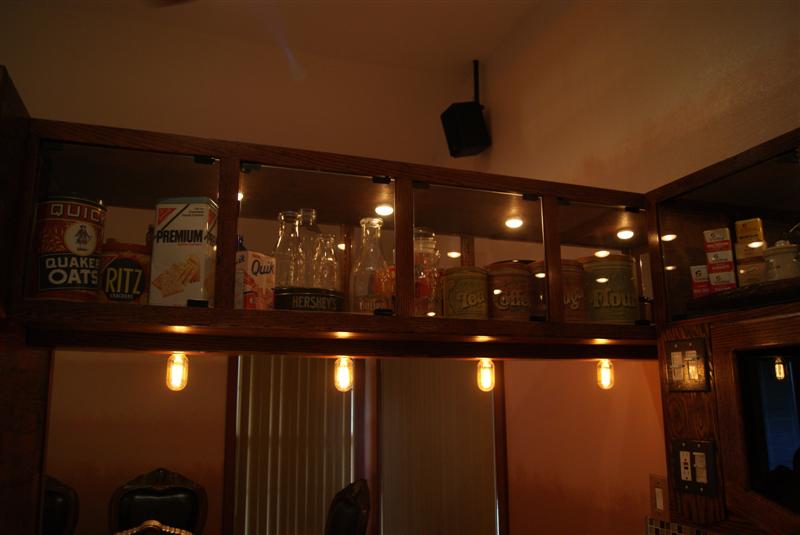
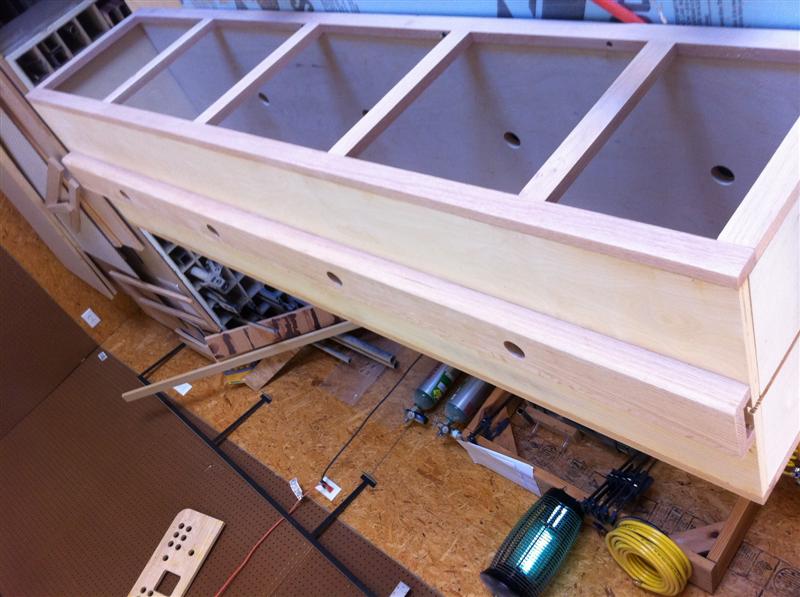
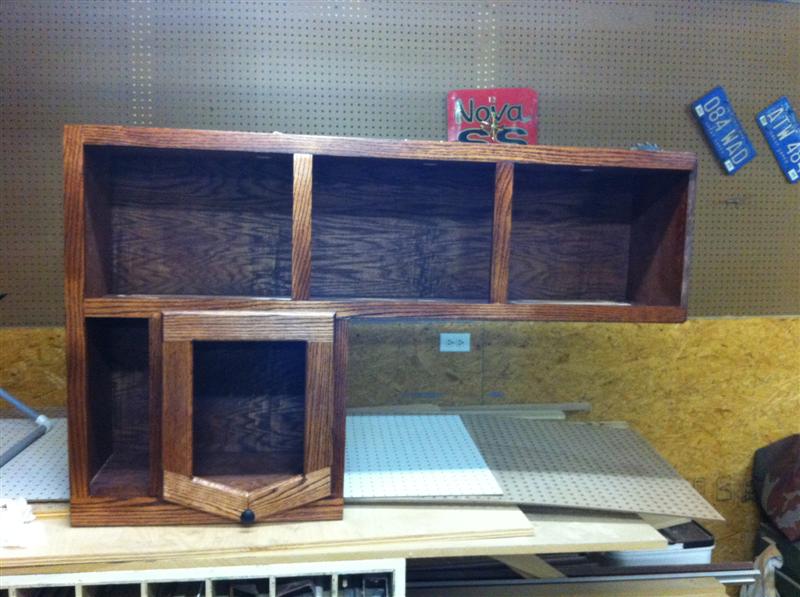
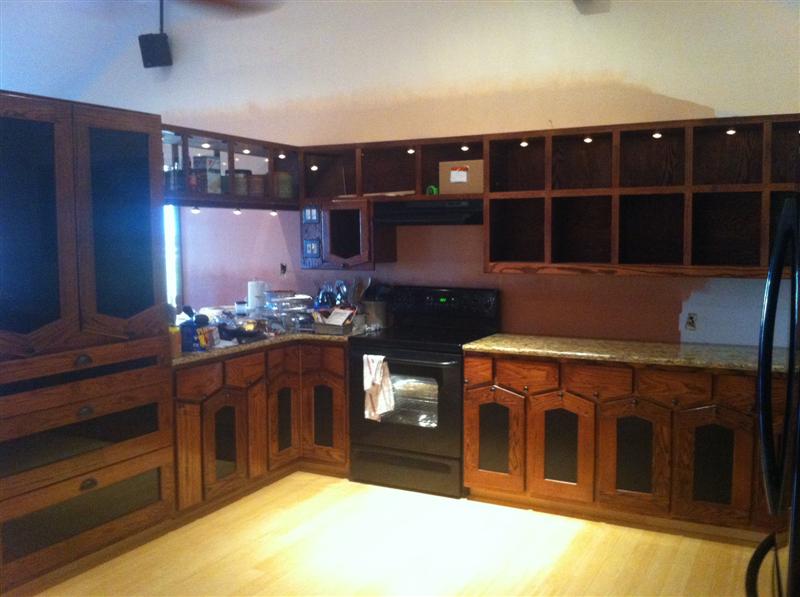
November 2011 – starting on the next upper
test
fit and then back to the shop for finishing
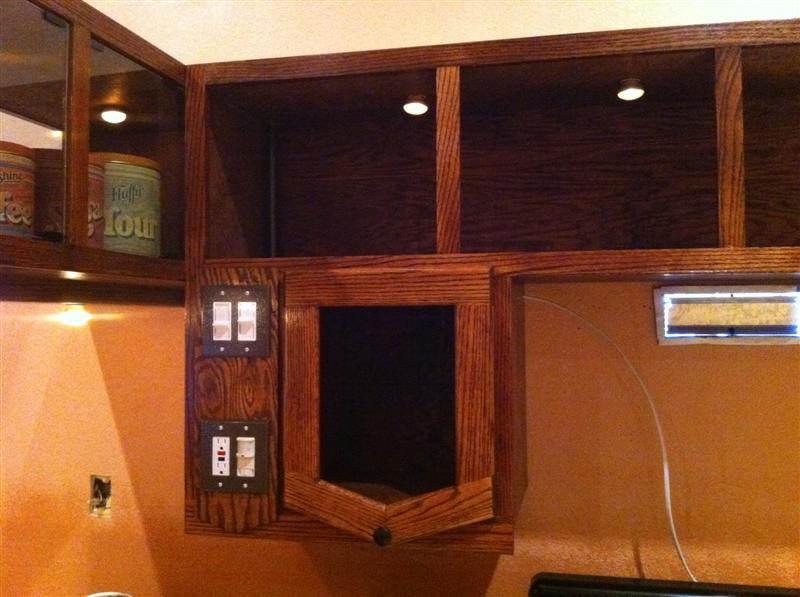
installed
along with the master controls for the lighting and a spare plug
...moving on to
the next set of upper cabinets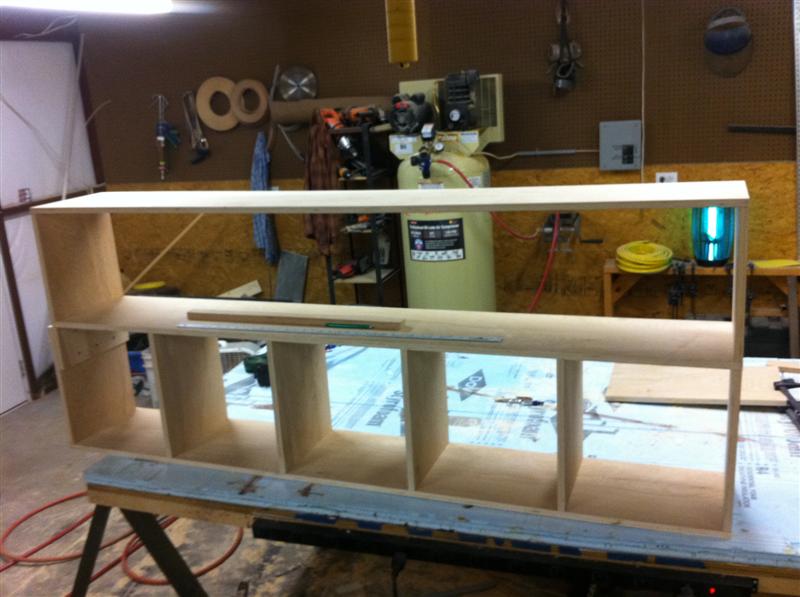
.JPG)
.JPG)
.JPG)
.JPG)
.JPG)
.JPG)
.JPG)
.JPG)
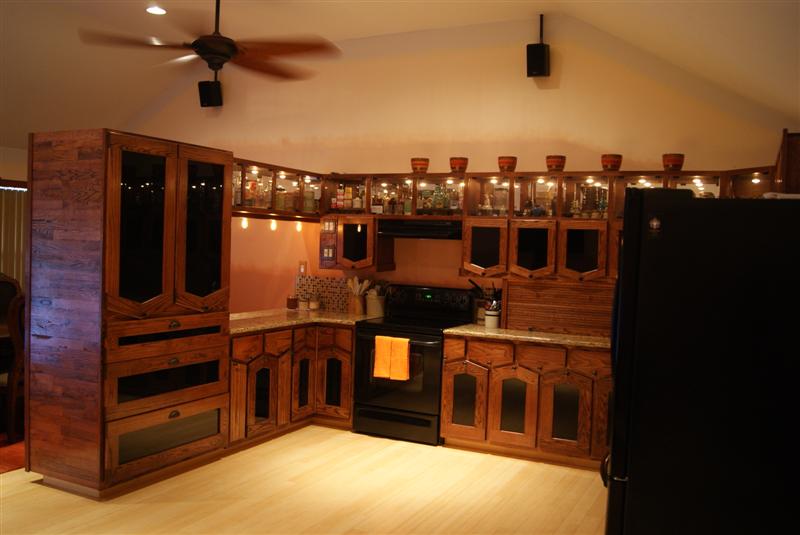
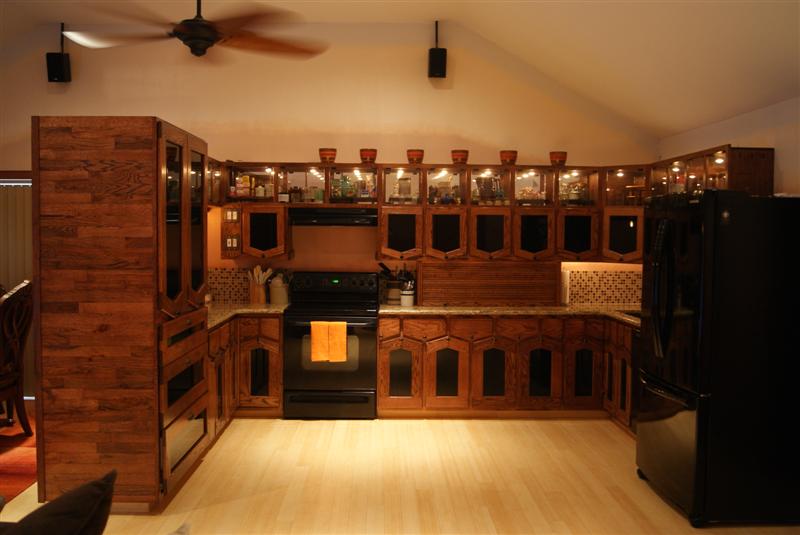
“Final Pictures” 2012