Electrical
My military days came in handy for this part of the make over. I used to maintain test equipment that was used for nukes and was given quite a bit of practical electronics training. Not the least of which was soldering. Since the equipment I worked on had to be in perfect condition, the military spared no expense and sent me to a school called "High Reliability Soldering". The purpose was to teach me techniques of connecting wires in ways that would be absolutely reliable. Soldering sounds simple (and it really is) but it's nice to know about ways to prevent "cold solder joints" (connections that look good - but will come apart after time), and the proper ways to insulate your new connection (heat shrink NOT black tape). Other things like "tinning" wires before connecting and the use of solid core silver solder and a separate tube of flux (as opposed to flux core solder).
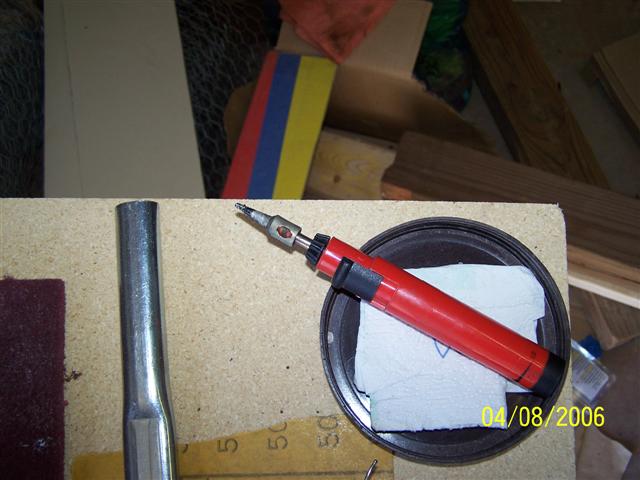
Here's my weapon of choice by the way:
It's powered by butane. It's low wattage but sufficient for most jobs. By not being powered by electricity - it's safe on delicate circuits - and being cord free is nice too!
Rectifier
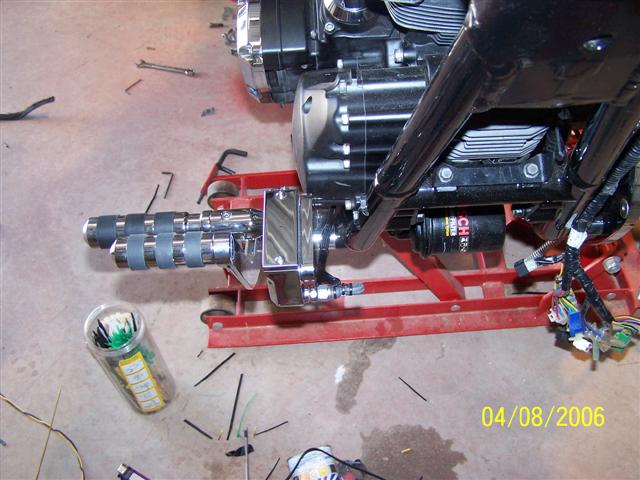
The DC side of the rectifier runs UP to the main wiring harness on the left side (in the open and UGLY) while the AC side runs to the right side bottom frame and is concealed very nicely. So I've rerouted the DC side to the right side to follow the direction of the AC side.
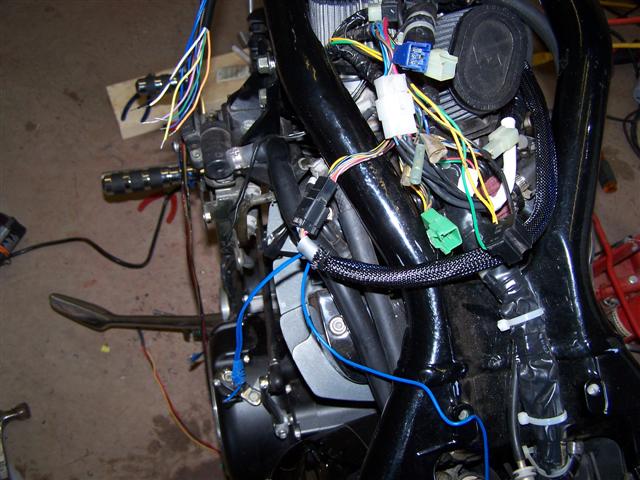
Here is before (the red and black wires)
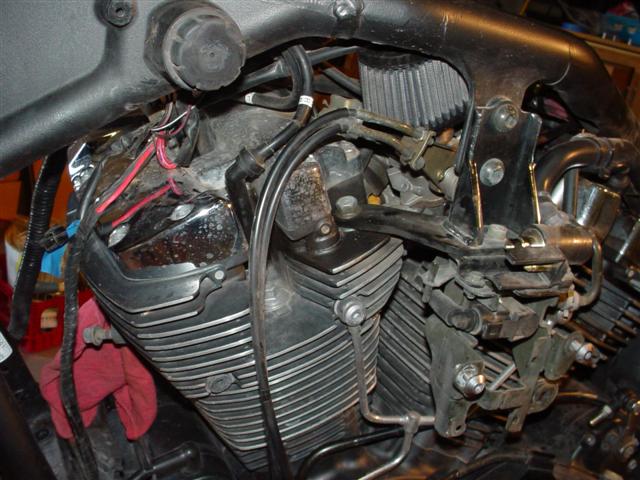
My first thought was to simply split the main harness open, pull the DC wires and re-route them.
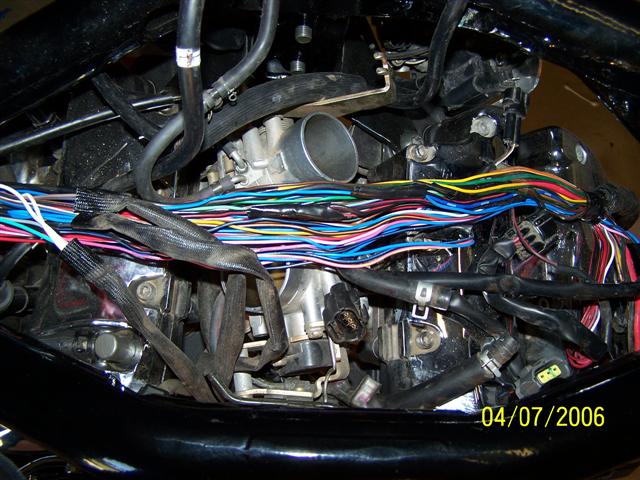
The problem with THAT idea is that both wires are spliced into repeatedly along the length of the main harness apparently to juice and ground other parts/systems on the bike. So, I ended up adding about 5 feet of additional wiring and doubling back over the harness, down the back, and along the bottom frame rail on the right side.
I used a higher gauge wire to reduce power loss.
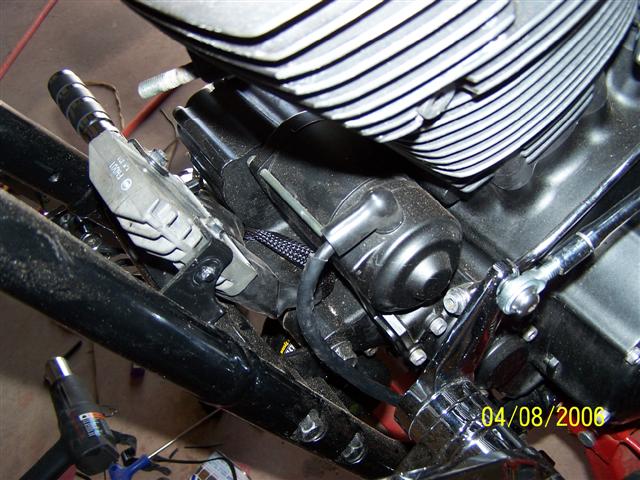
I also did some similar rerouting for the rear brake switch (it was in the same path) on the new forward controls.
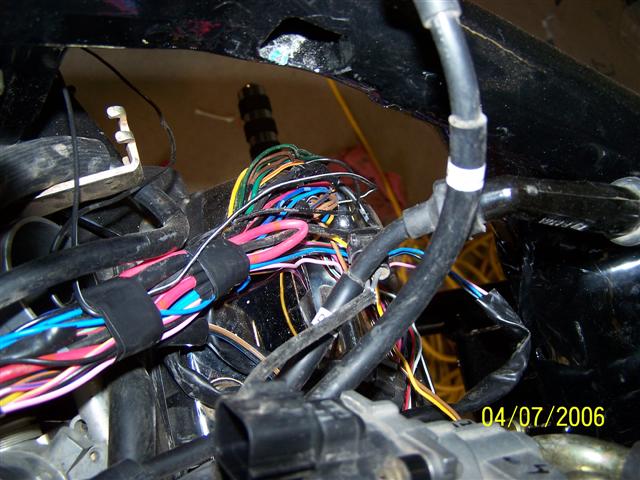
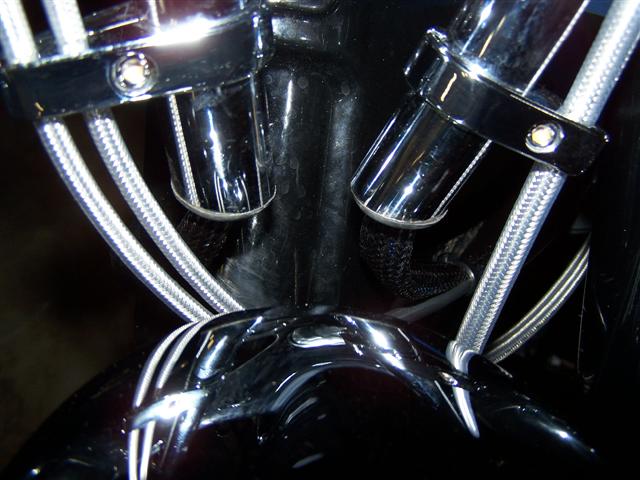
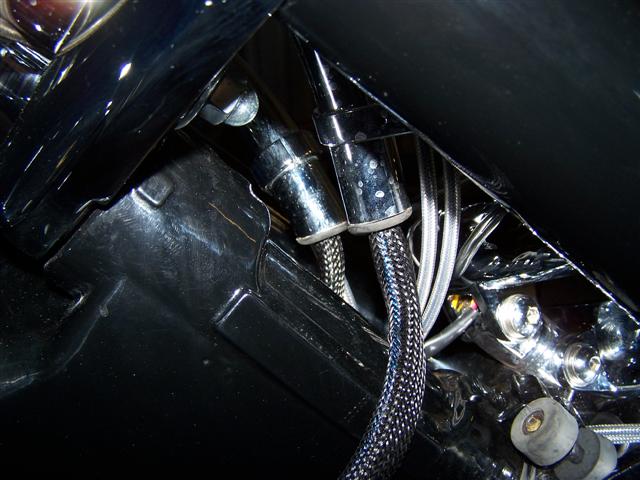
Here are the after shots
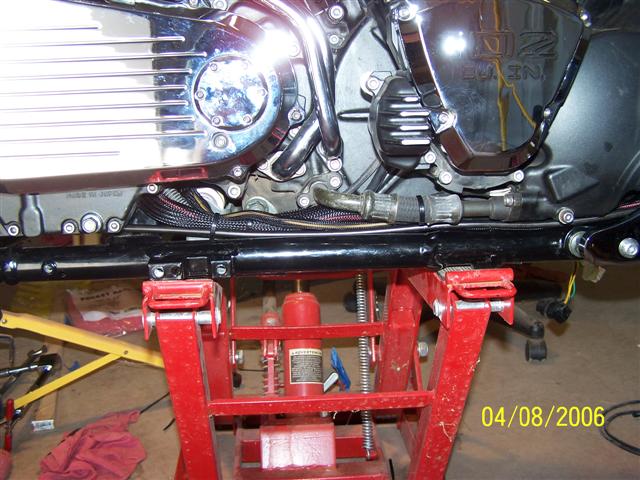
I bought some nylon braided cable covers from cableorganizer.com. They've got by far the best prices and you buy what you need per foot.
Hand controls
I found the aftermarket Harley controls use almost NONE of the
same wiring color schemes as a Warrior. You end up with Blue to Red, Green
to White, etc. (Yellow for the High beams was one of the few matches by
the way)
I wrote down what colors went to what switch on the controls before installing
(like Blue/Orange for the left turn signal button for example). The wires
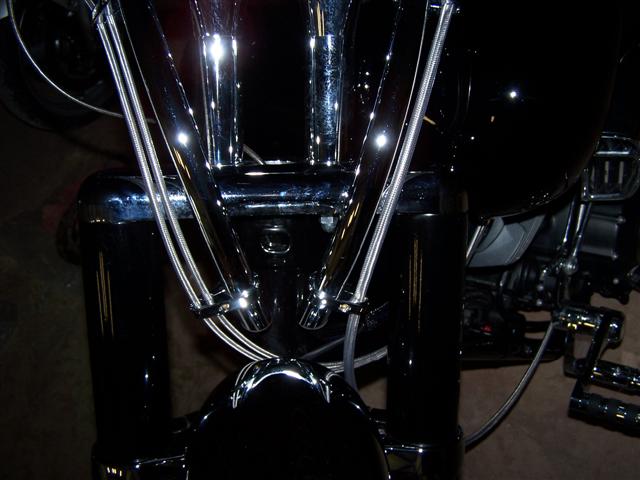
got the nylon braid and then fished through the handlebars. I chose these
bars because of the way the wiring would smoothly run:
Here's a shot of the right side before buttoning up:

(note - none of the colors line up LOL!)
Here's the same cable routed to the top. All those connectors you see are
normally in the headlight housing!
I spent several hours on the wiring, it's not hard it's just time consuming. Several 6 packs I would guess!